> ## Documentation Index
> Fetch the complete documentation index at: https://bunnynet-cb9733c2-docs-dns-cli-tabs-and-scriptable-types.mintlify.site/llms.txt
> Use this file to discover all available pages before exploring further.
# Quickstart
> Create and configure your first DNS Zone in minutes.
This guide walks you through adding a DNS Zone to bunny.net and configuring your domain to use Bunny DNS.
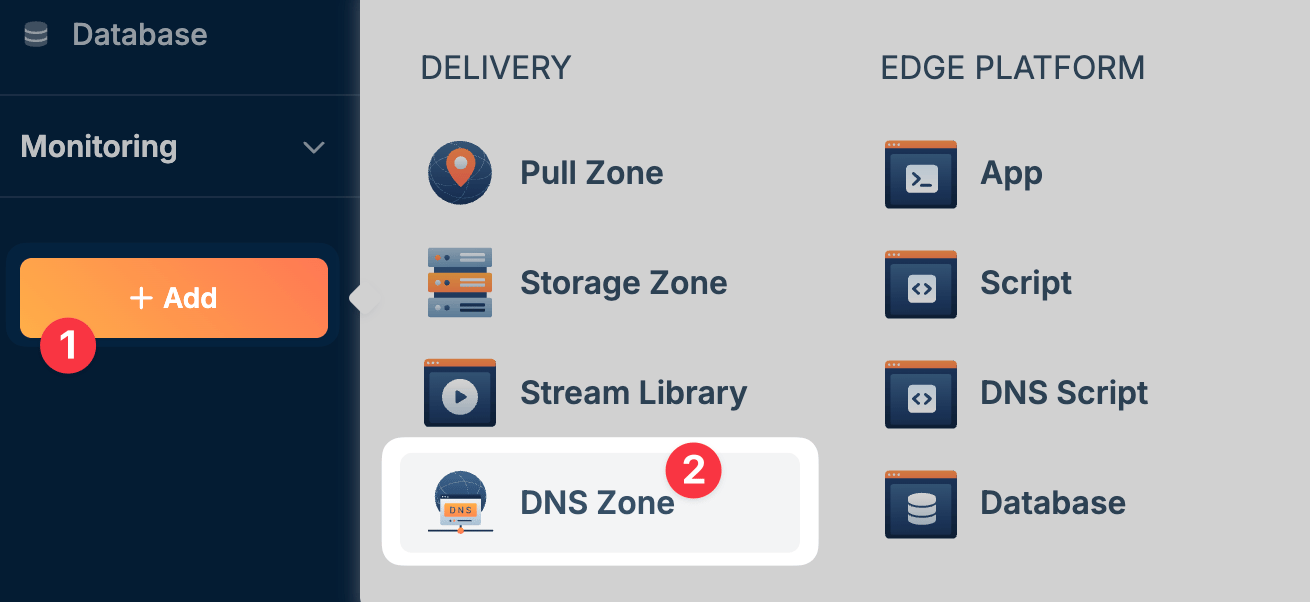
In the bunny.net dashboard, go to **DNS** and click **Add DNS Zone**, or select it from the **+ Add** sidebar launcher.
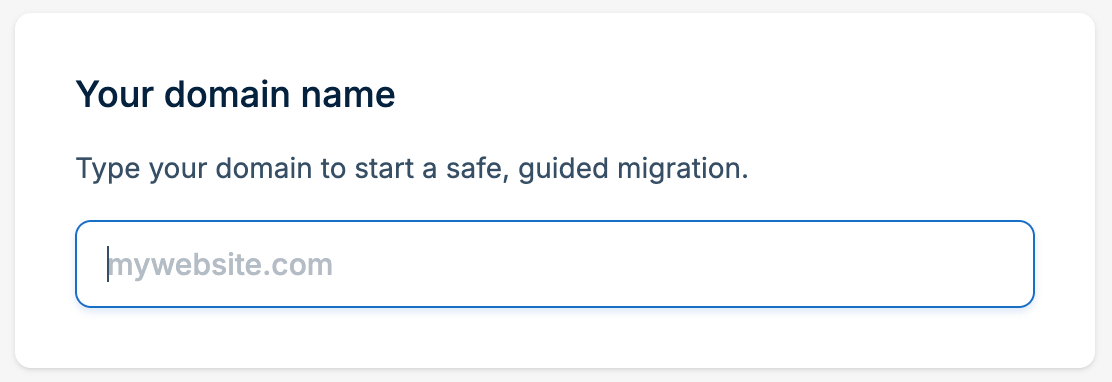
 Type your domain name (e.g., `mywebsite.com`) to start the setup process.
 Now that you've entered your domain, you can import any existing DNS records.
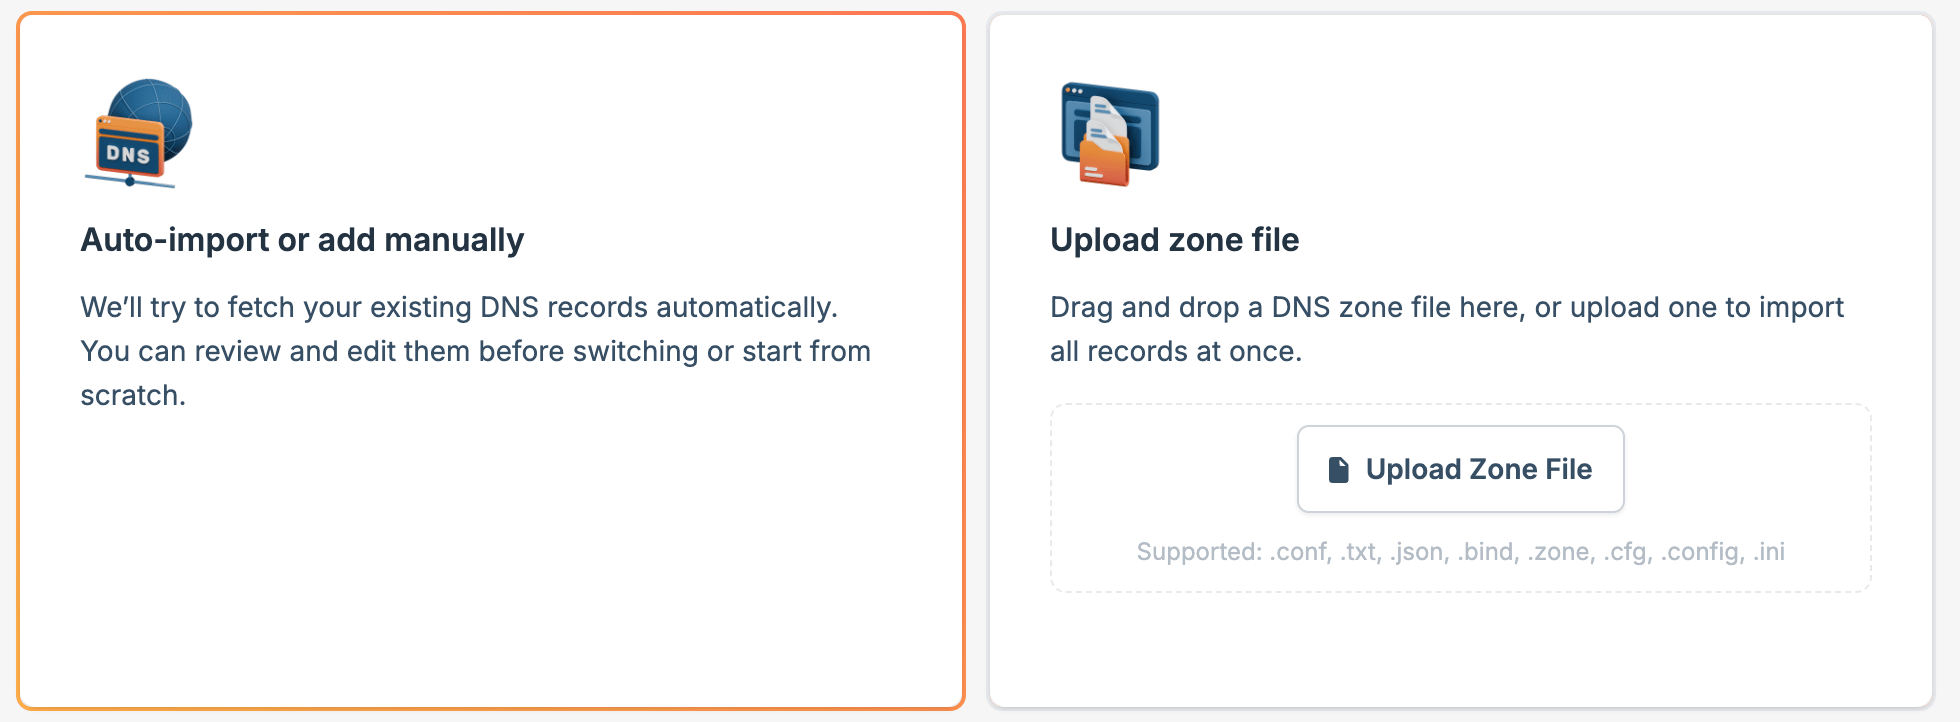 Select this option to have Bunny DNS scan and fetch your existing DNS records automatically. You can review and edit them before switching, or start from scratch.
The scanning process can take several minutes depending on your domain's complexity.
Drag and drop a DNS zone file (such as a BIND zone file), or click **Upload Zone File** to import all records at once.
This is useful when migrating from providers that support zone file exports.
[Learn more about importing zone files](/dns/import-export)
Click **Next** to continue.
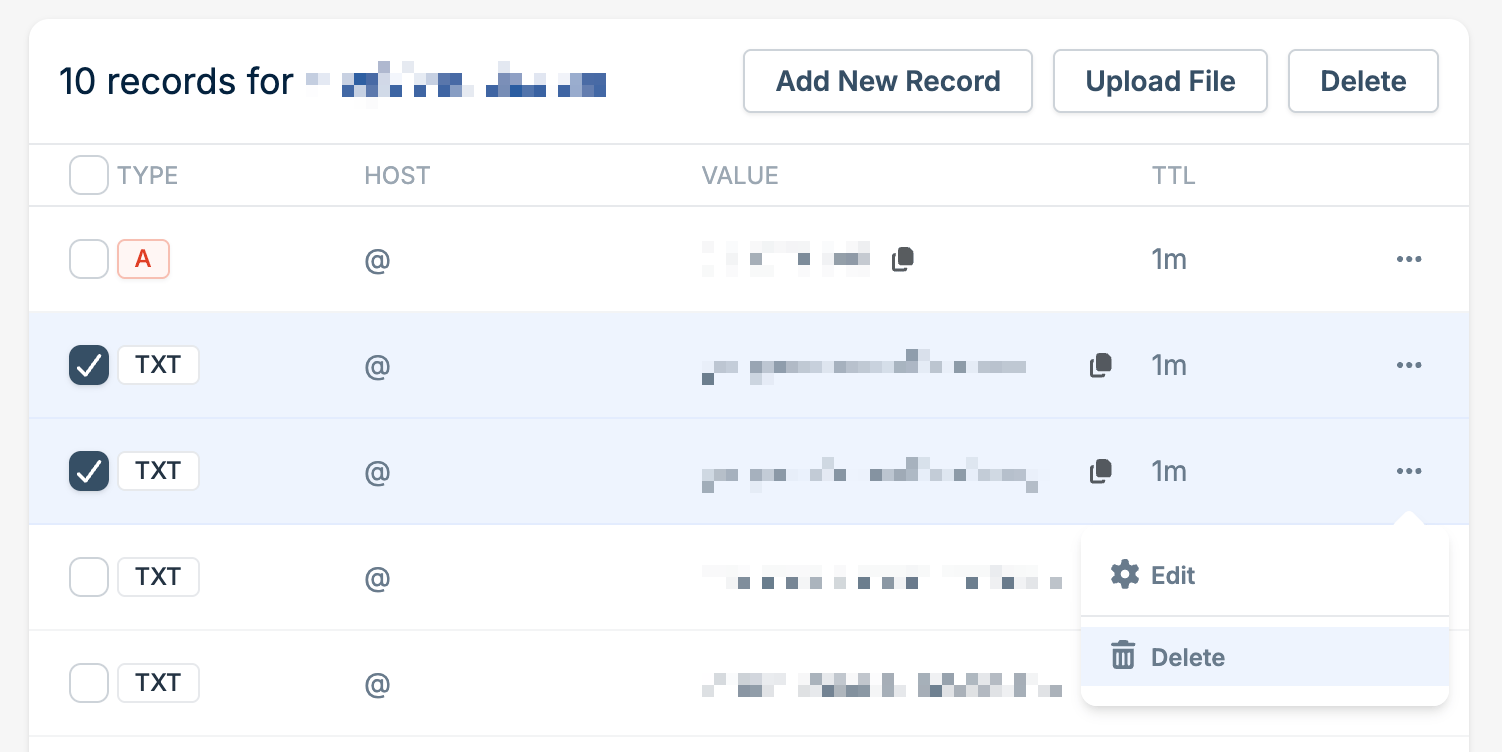
After scanning or importing, review your DNS records carefully:
* Compare detected records with your current DNS provider
* Add any missing records that weren't detected
* Remove or modify records as needed
* Check that critical records like MX (email) and CNAME entries are correct
Select this option to have Bunny DNS scan and fetch your existing DNS records automatically. You can review and edit them before switching, or start from scratch.
The scanning process can take several minutes depending on your domain's complexity.
Drag and drop a DNS zone file (such as a BIND zone file), or click **Upload Zone File** to import all records at once.
This is useful when migrating from providers that support zone file exports.
[Learn more about importing zone files](/dns/import-export)
Click **Next** to continue.
After scanning or importing, review your DNS records carefully:
* Compare detected records with your current DNS provider
* Add any missing records that weren't detected
* Remove or modify records as needed
* Check that critical records like MX (email) and CNAME entries are correct
 Once you've verified your records, choose how to proceed:
* **Confirm and add** creates the DNS Zone with your imported or configured records
* **Add DNS Zone without records** creates an empty DNS Zone that you can populate manually
Once you've verified your records, choose how to proceed:
* **Confirm and add** creates the DNS Zone with your imported or configured records
* **Add DNS Zone without records** creates an empty DNS Zone that you can populate manually
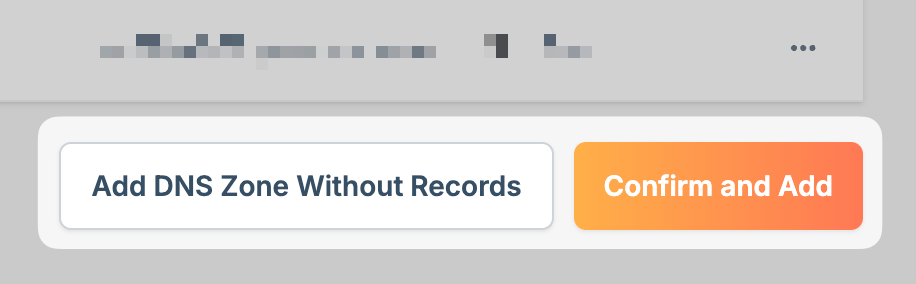 Click your preferred option to create the zone.
After creating your DNS Zone, update your domain's nameservers at your domain registrar to point to Bunny DNS:
* `kiki.bunny.net`
* `coco.bunny.net`
The process varies by registrar, but typically involves logging in to your registrar's control panel and replacing the existing nameservers with the ones above.
DNS propagation can take up to 48 hours, though changes typically take effect within a few hours.
Don't have the CLI installed? See the [CLI quickstart](/cli/quickstart) to install and authenticate.
```bash theme={null}
bunny dns zones add example.com
```
After creating the zone, the CLI checks your domain's live registrar delegation. If the domain already points at Bunny DNS, it simply confirms. Otherwise it prints the nameservers to set, naming your registrar when it can detect it.
Import an existing BIND zone file, or add records individually:
```bash theme={null}
# Import a BIND zone file exported from your current provider
bunny dns records import example.com ./zonefile.txt
# Or add records one by one (use '@' for the zone apex)
bunny dns records add example.com api A 198.51.100.1
bunny dns records add example.com '@' MX mail.example.com 10
# Or apply a preset record set for a common provider (email, verification, security)
bunny dns records preset google-workspace example.com
```
Run `bunny dns records add` with no arguments for an interactive wizard, and `bunny dns records list example.com` to review the result.
Update your domain's nameservers at your domain registrar to point to Bunny DNS:
* `kiki.bunny.net`
* `coco.bunny.net`
Then verify the delegation has taken effect:
```bash theme={null}
bunny dns zones nameservers example.com
```
This does a live nameserver lookup and confirms once your registrar delegates to Bunny DNS.
DNS propagation can take up to 48 hours, though changes typically take effect within a few hours.
See the [`bunny dns` command reference](/cli/commands/dns) for the full list of zone, record, and script commands.
## Next steps
Your DNS Zone is now active. From here you can:
Add, edit, and configure DNS records for your domain.
Protect your domain from spoofing and tampering.
Write JavaScript to dynamically respond to DNS queries.
Monitor DNS query traffic and patterns.
Click your preferred option to create the zone.
After creating your DNS Zone, update your domain's nameservers at your domain registrar to point to Bunny DNS:
* `kiki.bunny.net`
* `coco.bunny.net`
The process varies by registrar, but typically involves logging in to your registrar's control panel and replacing the existing nameservers with the ones above.
DNS propagation can take up to 48 hours, though changes typically take effect within a few hours.
Don't have the CLI installed? See the [CLI quickstart](/cli/quickstart) to install and authenticate.
```bash theme={null}
bunny dns zones add example.com
```
After creating the zone, the CLI checks your domain's live registrar delegation. If the domain already points at Bunny DNS, it simply confirms. Otherwise it prints the nameservers to set, naming your registrar when it can detect it.
Import an existing BIND zone file, or add records individually:
```bash theme={null}
# Import a BIND zone file exported from your current provider
bunny dns records import example.com ./zonefile.txt
# Or add records one by one (use '@' for the zone apex)
bunny dns records add example.com api A 198.51.100.1
bunny dns records add example.com '@' MX mail.example.com 10
# Or apply a preset record set for a common provider (email, verification, security)
bunny dns records preset google-workspace example.com
```
Run `bunny dns records add` with no arguments for an interactive wizard, and `bunny dns records list example.com` to review the result.
Update your domain's nameservers at your domain registrar to point to Bunny DNS:
* `kiki.bunny.net`
* `coco.bunny.net`
Then verify the delegation has taken effect:
```bash theme={null}
bunny dns zones nameservers example.com
```
This does a live nameserver lookup and confirms once your registrar delegates to Bunny DNS.
DNS propagation can take up to 48 hours, though changes typically take effect within a few hours.
See the [`bunny dns` command reference](/cli/commands/dns) for the full list of zone, record, and script commands.
## Next steps
Your DNS Zone is now active. From here you can:
Add, edit, and configure DNS records for your domain.
Protect your domain from spoofing and tampering.
Write JavaScript to dynamically respond to DNS queries.
Monitor DNS query traffic and patterns.